Previous Image
Next Image
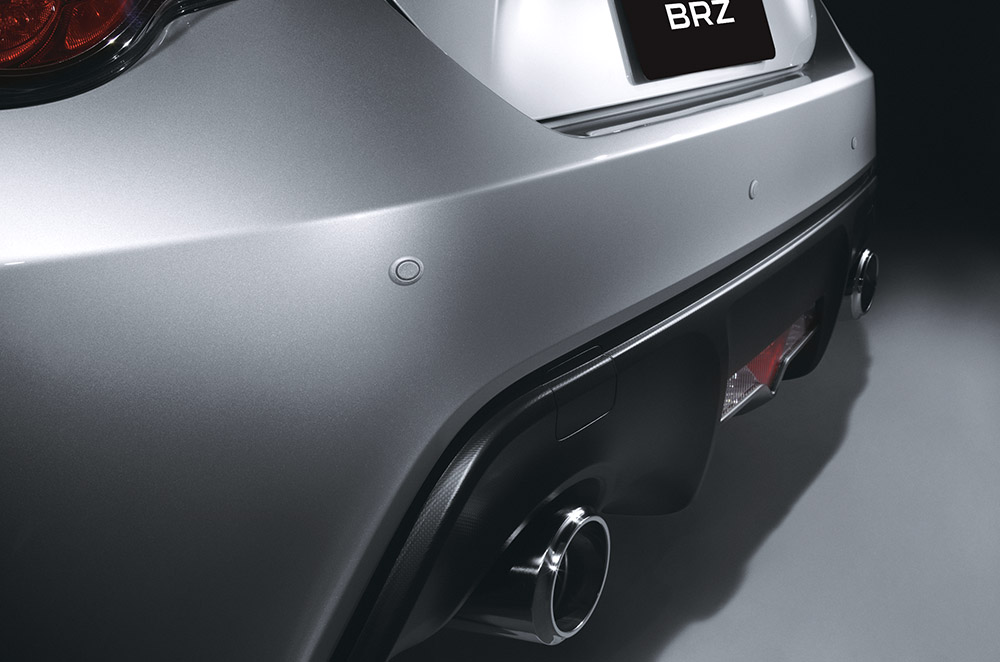
sac9100_brz19-reverse-sensors-3.jpg
Post navigation
Published in
sac9100_brz19-reverse-sensors-3.jpg